EasyScreed – Dry screed boards
Perfect for dry flooring – with high durability, deeply impregnated with tongue-and-groove connection. A2 certified.
Flooring made easy with easyscreed:
Save time
Dry Flooring
easy installation
highly combinable
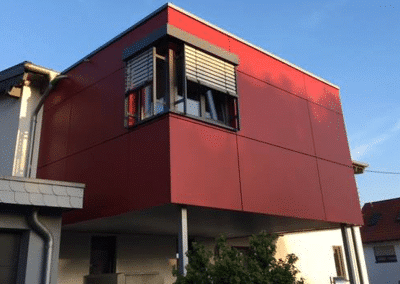
Renovation of old buildings
Tel.: +49 381 877 45 811
Planning a project? We'd be happy to help you.
EasyScreed – dry screed boards
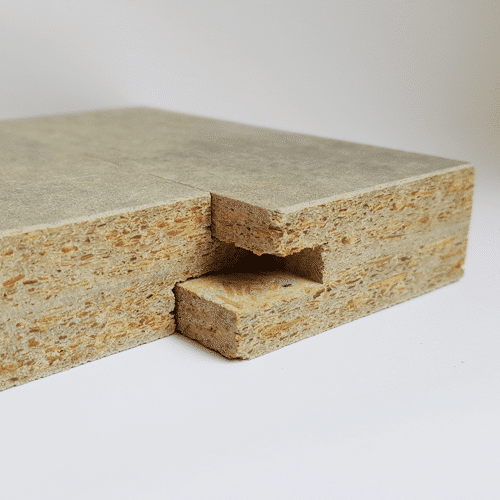
EasyScreed by Bausal is a screed made from CETRIS cement-bonded particle boards, ideal for dry flooring with heavy use, deeply impregnated with positive-locking tongue and groove connection.
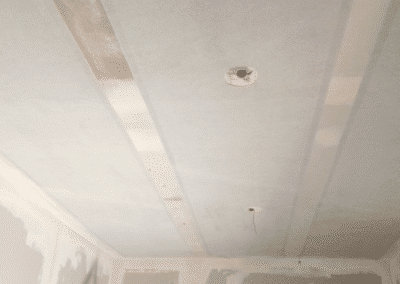
The boards are designed for flat surfaces (ceiling construction, false floor). The installation is done floating. Enjoy fast and easy flooring as well as simple and seamless assembly.
The dry screed panels have a dimension of 20 x 625 x 1250 mm (including the spring). Other dimensions and thicknesses are available upon request.
Instructions
Requirements
To begin with, the surfacemust be well leveled and non-resilient. Compensate for any unevenness beforehand by filling or pouring. If there is moisture, insert a vapor barrier under the insulation. In the case of concrete ceilings, insert a 0.2 mm thick PE film with a 25 cm overlap. Pull up the film on the walls. A special moisture seal must be made in accordance with DIN 18195. Store the panels at the installation site 2 days before starting the work. Required relative air humidity on average <60%.
In the case of existing wooden planks, these are to be screwed onto the plank substructure in order to prevent the planks from springing. If fillings are required, a trickle protection made from wax paper should be used. Do not insert PE film. Level the fill exactly to achieve an optimal laying result. Follow the instructions of the insulation material manufacturer. If pipes are to be laid in the fill, they must be completely insulated. For electrical cables, a max. Do not exceed a width of 10 cm. Pipes and cables must have at least 10 mm coverage to prevent sound bridges.[/et_pb_text][et_pb_divider color="#ededed" _builder_version="3.29.3"][/et_pb_divider][/et_pb_column][/et_pb_row][et_pb_row column_structure="1_3,1_3,1_3" _builder_version="3.29.3" custom_margin="||0px||false|false" custom_padding="||0px||false|false"][et_pb_column type="1_3" _builder_version="3.29.3"][et_pb_text _builder_version="4.4.8"]
Tools
- Pulling iron
- Hammer (up to 1.5kg)
- Circular saw
- Jigsaw
- Wedges (preferably wood)
- Wooden tapping block
Materials
- EasyScreed boards
- Edge insulation strips
- PU adhesive
if necessary:
- Filler
- insulation
- Fill
- Trickle protection, wax paper
Adjustments
Use a jigsaw for cutouts, curves and adjustments to built-in parts, and a circular saw with a guide rail for straight cuts. Use saw blades suitable for stone to ensure the required tool life and cutting quality.
Instructions
Prepare
Apply edge insulation strips to the edges of the installation surface, fix them with wooden wedges if necessary. Maintain a gap of at least 10 mm. Other components such as heating and water pipes are also provided with such an insulation strip.
Glue
Use the supplied PU adhesive for gluing, approx. 40 g per m². The connection joints of the dry screed elements must be undamaged, dry, free of dust and grease. Apply the adhesive to the tongue and groove of the plate.

Joint
Lay the first row of panels along a wall. Add the following row of plates in an offset. Avoid cross joints! Insert the plates at a slight pressure into the elements that have already been laid. Close longitudinal joints well. Compact the transverse joints with a hammer and firewood. Avoid hitting the panels directly.
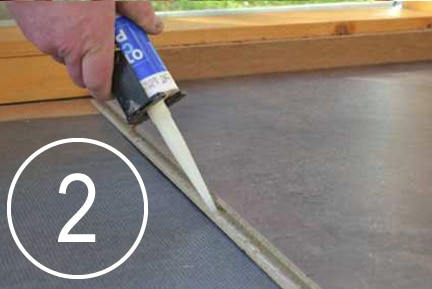
Finish the edges
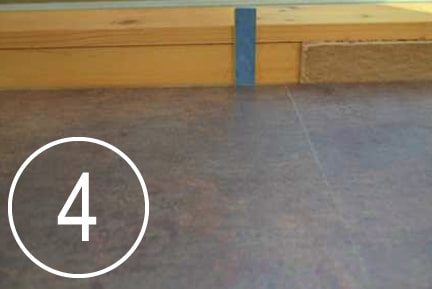
Insert the edge plates at an angle and then close the joints with the help of a pulling or assembly iron. After the laying work has been completed, remove the wooden wedges from the edge insulation strips. Seal the expansion joint with color-matching silicone. Attach skirting boards.
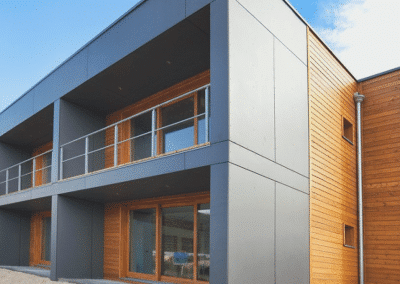
Sample recommendation